Travel Advice: Be a Better Photographer in Under 30 Minutes
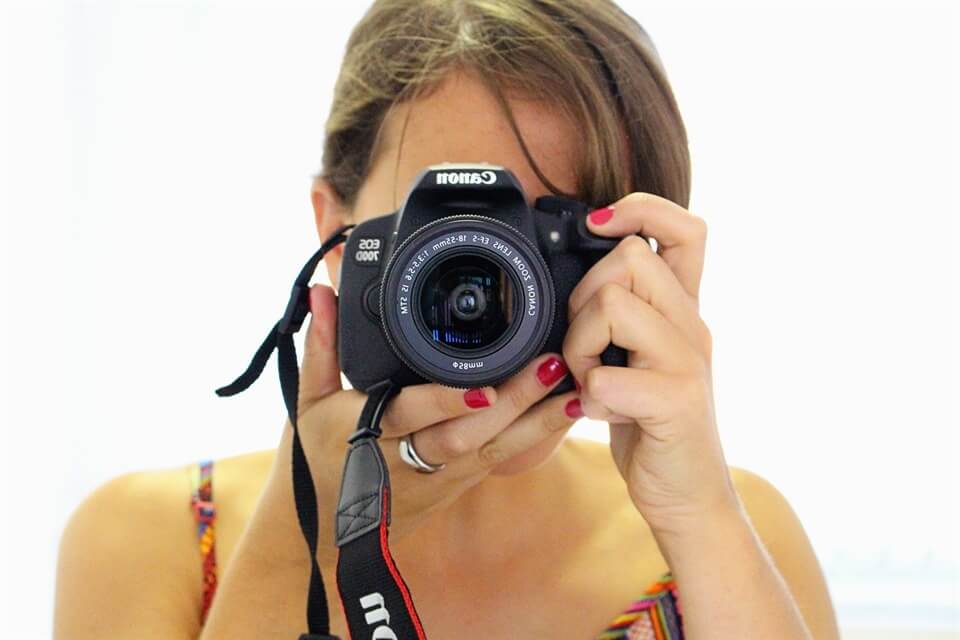 I'd long wanted to improve my photography before I did something about it.
It seemed like a difficult mountain to climb full of technicalities and techniques and terminology that was foreign to me. Then I read this book by Beers & Beans and I spent hours and hours and hours practising what I read. (On a side note, I'm now working with Beers & Beans as part of the Must Love Festivals project, never did I imagine two years ago when I was reading their book in Thailand that this would the case. Life is funny, isn't it?) You can read more about the first year of my journey as a very amateur photographer here.
I began with a second hand "bridge" DSLR and in January this year I treated myself to an entry level Canon. For my birthday I received a 40mm macro lens and I'm busy saving up for a better standard lens. Photography can be expensive but stretched over the course of three years (the length of time I've been teaching myself and experimenting) the cost to pleasure ratio is still steeped in the latter's favour.
That's definitely advice I would reiterate; don't spend a lot of money on a camera or lenses in the beginning. Use a second hand bridge camera or a decent point and shoot camera and practise before you invest in the equipment.
While I'm still nowhere near the photographer I want to be - I believe I know only 20% of what I need to to get there - the following things help me every time I take a photo. Helpfully these nuggets of advice can be condensed into under thirty minutes of reading and they're nice and easy to remember.
Clean your lens
You'd be surprised how infrequently I used to do this and how many times I ruined a photo because of it.
Don't worry, the tips get a little bit more sophisticated.
Understand light (at least a little bit)
Photography is more about light than anything else. "Photo" means light in Greek so that's quite a hint.
While I suspect the majority of photographers these days - professional or otherwise - may not know the exact science behind the taking of a photo thanks to the digital revolution doing away with film and private studios (and I include myself in this uninformed number) all decent photographers know how to work with light.
Here are the things you need to remember and use to your advantage:
1. Natural light will nearly always* give you the best photos.
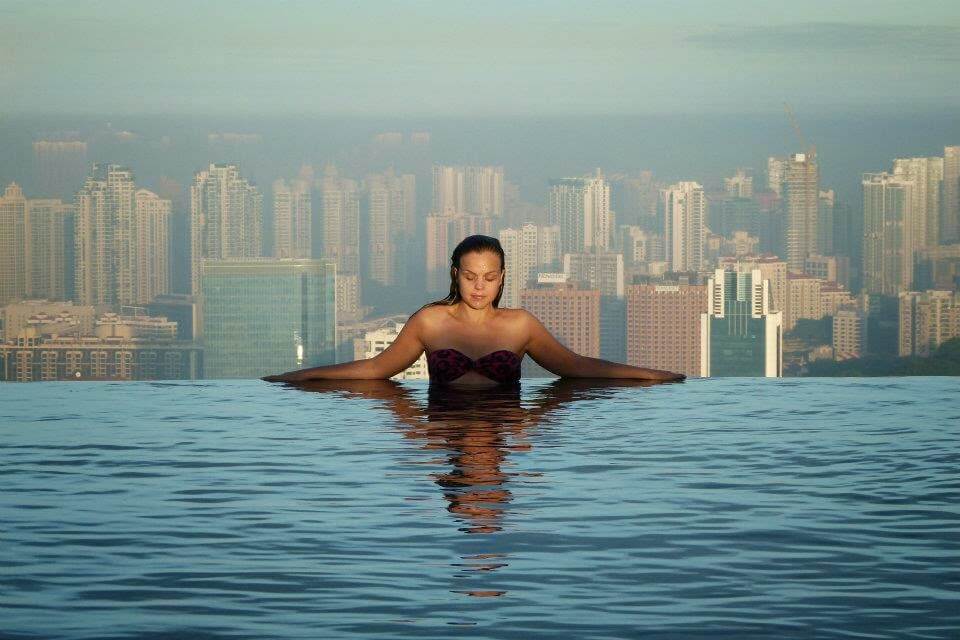
2. When the sun is low in the sky, this light will be even kinder to your photos. This is the so-called magic hour that precedes sunset or follows sunrise.
Get to know these times of day with your camera and you will be rewarded in your photos.
This is the light in Lisbon less than ten minutes before the sun went down. 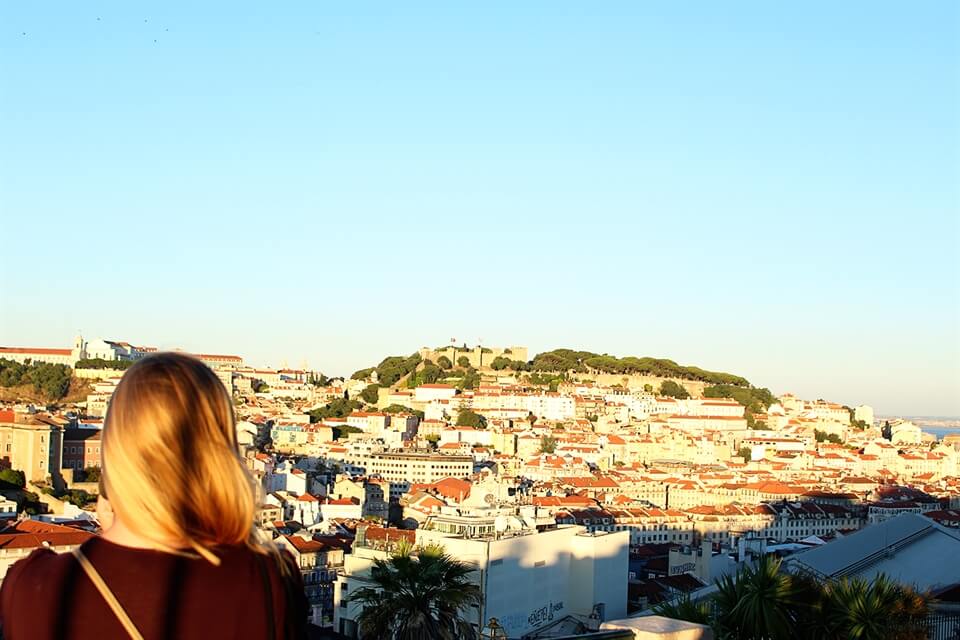 And the following photo was taken at sunrise in Marina Bay Sands Hotel's famous infinity pool by my boyfriend. I had no idea how good the light was until I saw this photo.
  3. Be careful of flash, but not afraid of it. It has it's time and place but that isn't in these thirty minutes.
4. Light coming from behind a subject will make them appear like a silhouette.
5. Try to shoot with your light source to the side or below your subject or view, as light coming in directly at a subject will de-emphasize it's features so you lose detail and texture. Think about any photo shoots you may have seen in films and TV, the lights were always below or to the side of the subject, not directed right at it.
Composition
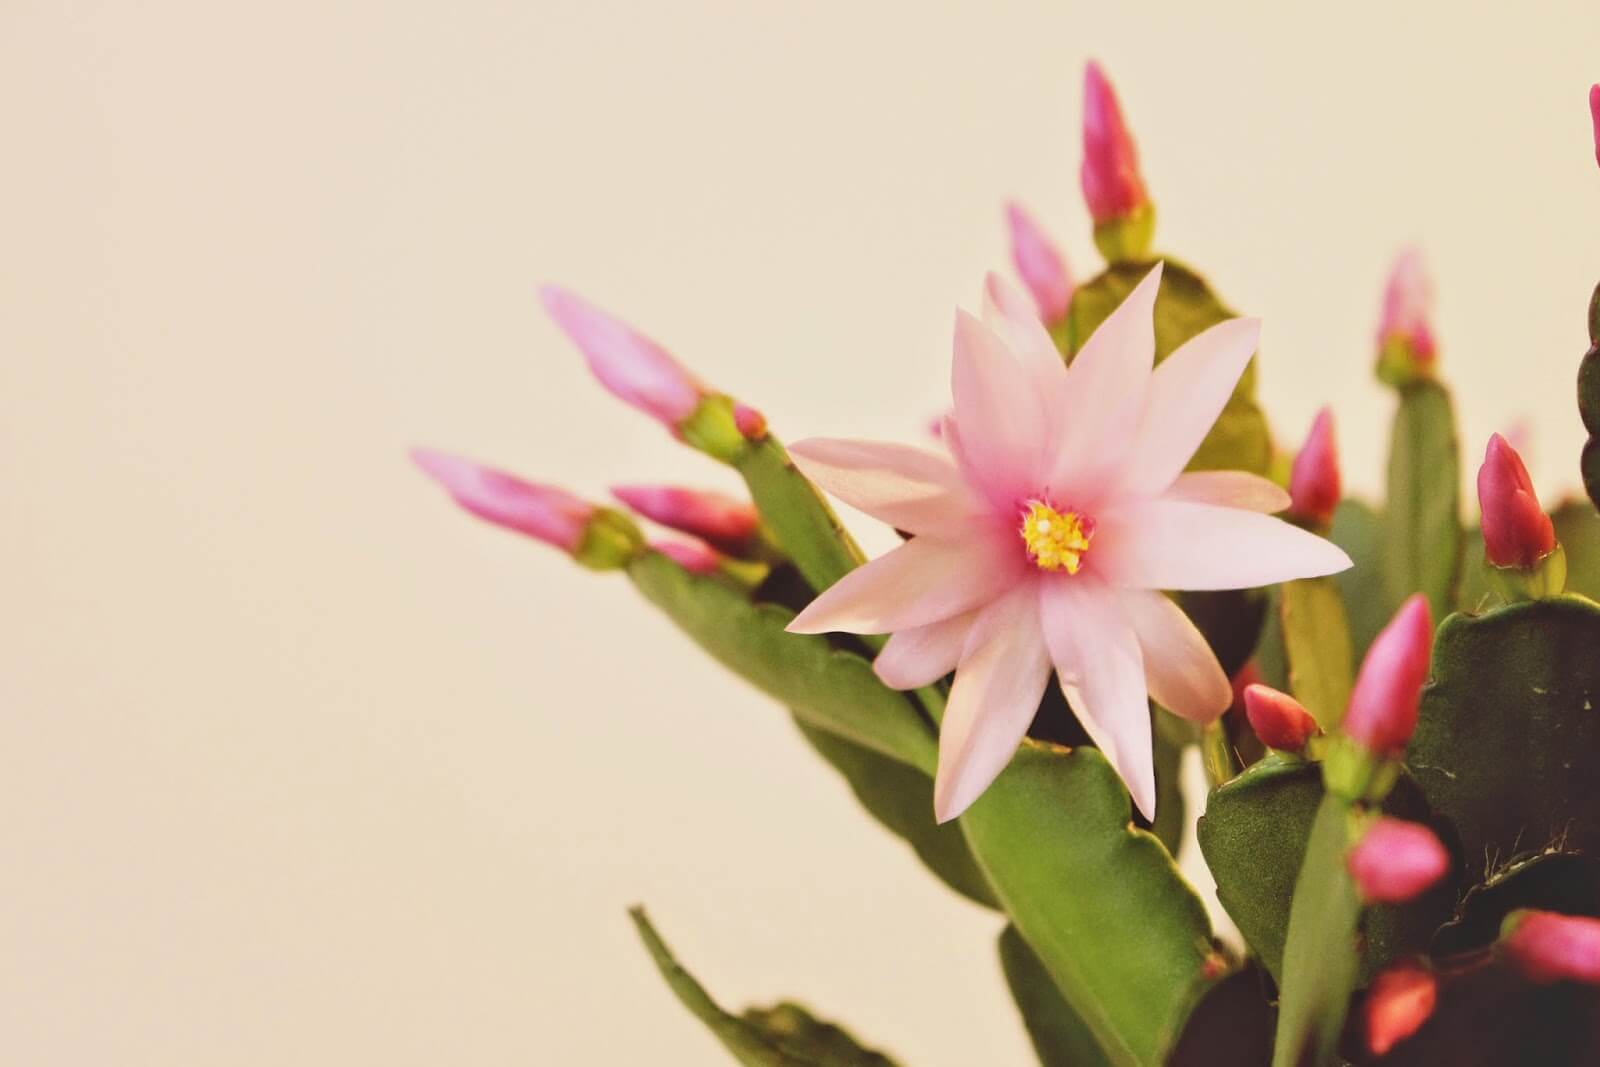
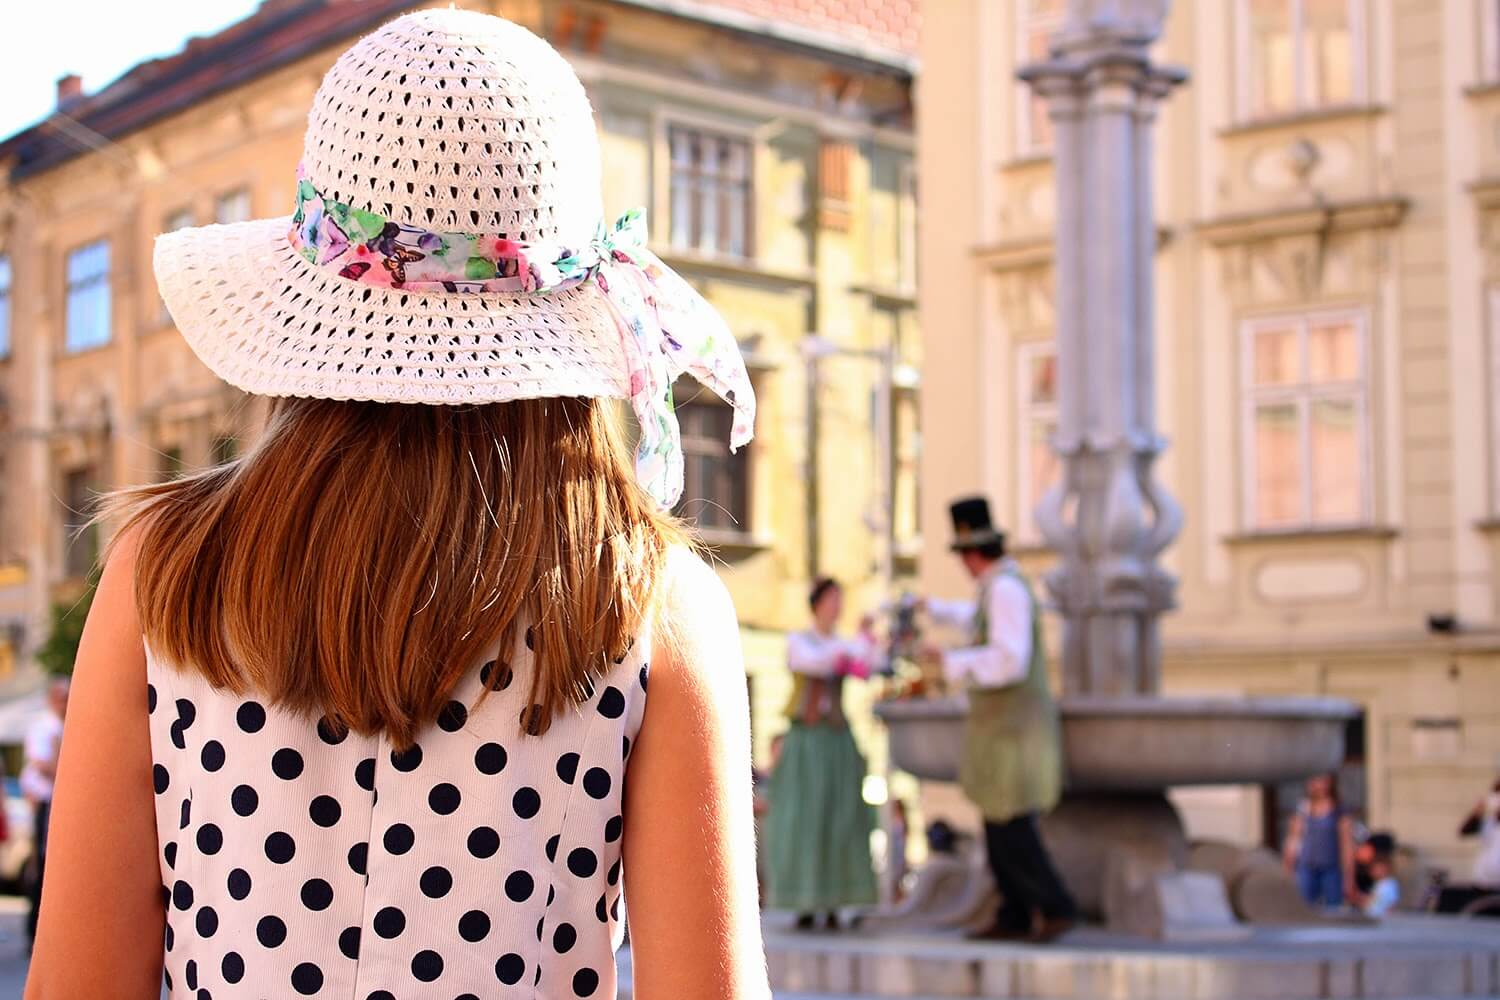
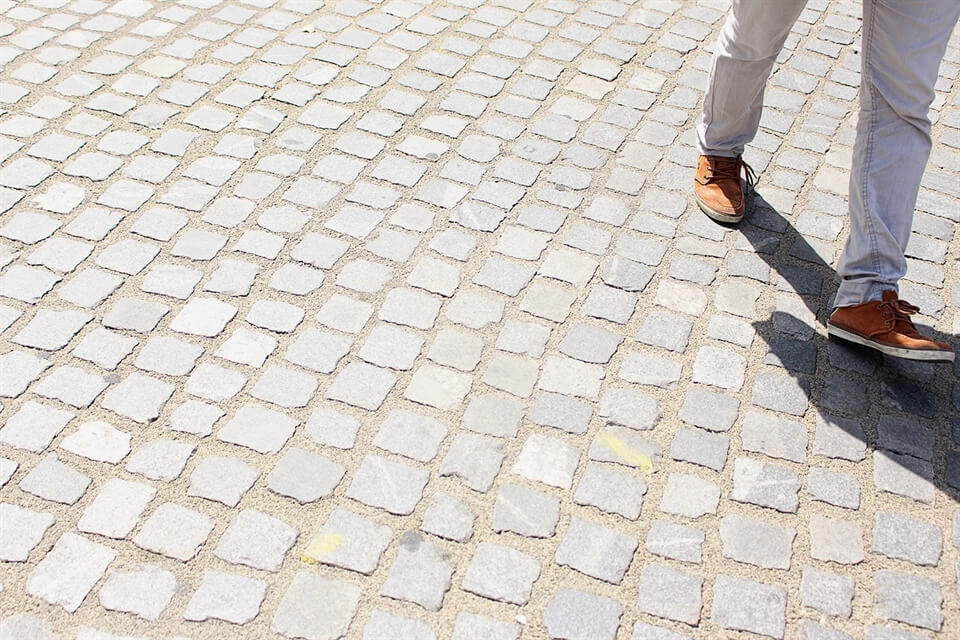
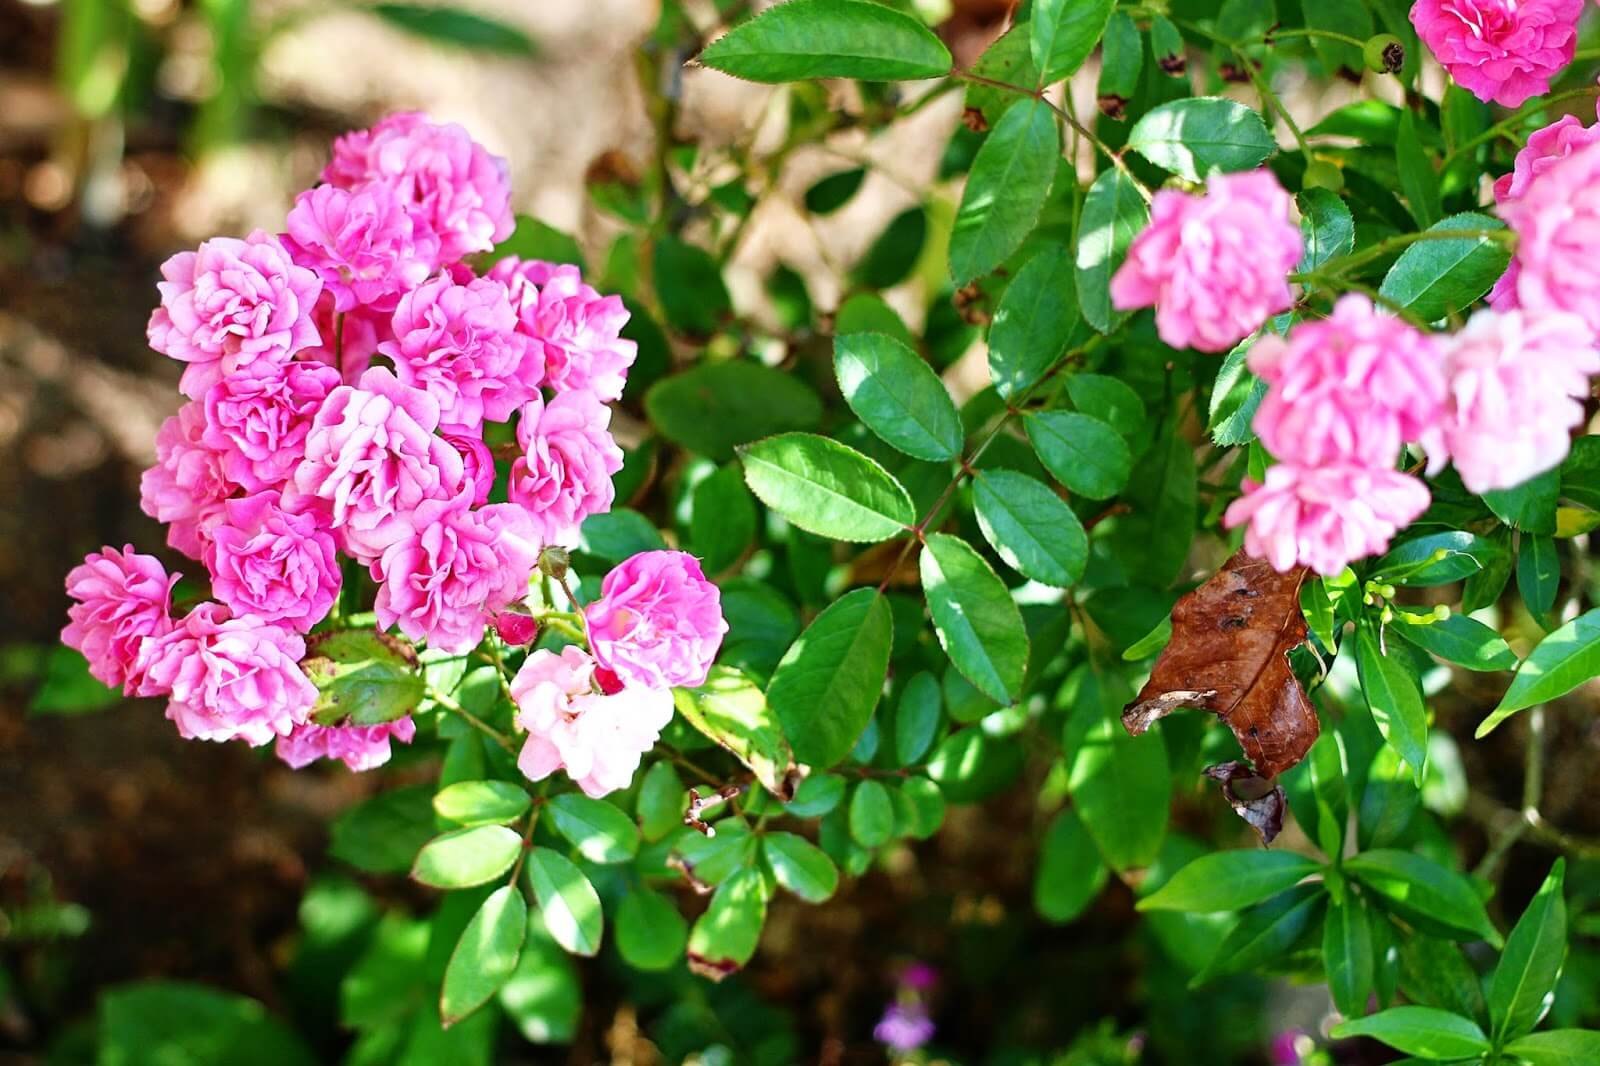
This is the one thing that has had the most impact on my photography, mainly thanks to the rule of thirds, which is the process of dissecting an image into nine sections as below. 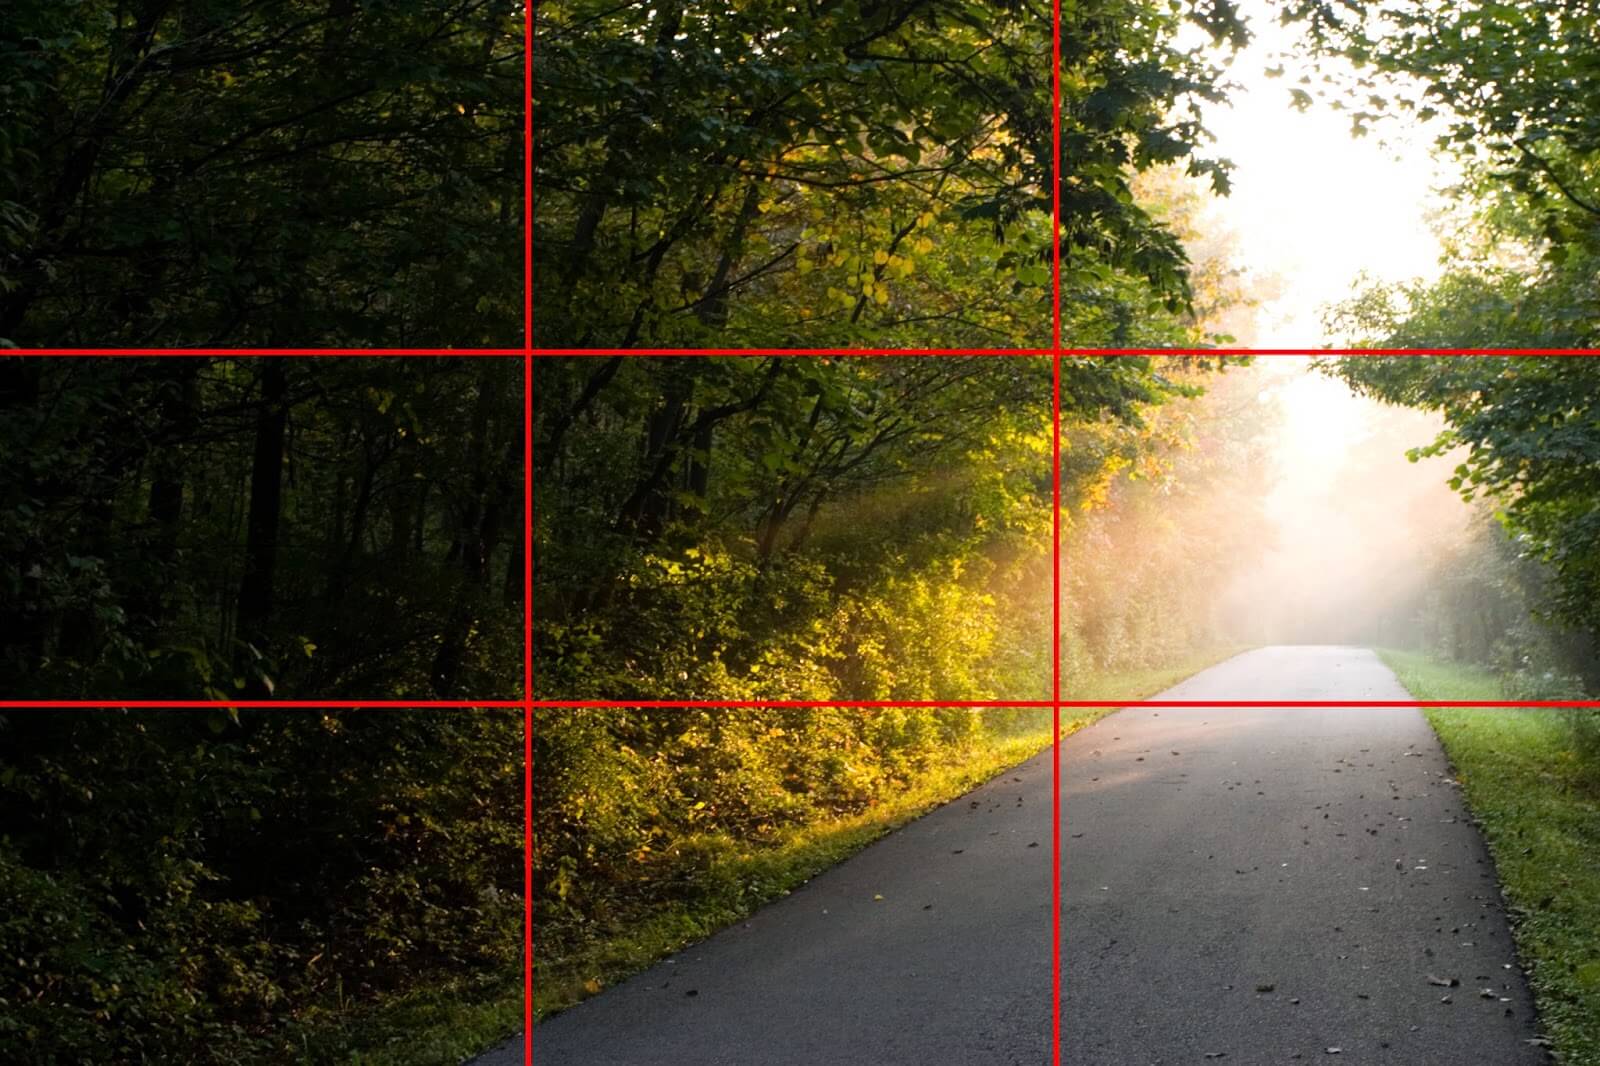 If there is something of interest in your photo, you should position it roughly on one of the four crosses where the dividing lines cross, i.e. off centre.*
You may be interested to know this "rule" doesn't come from photography but predates it and has been used in paintings for centuries.
And you don't have to get it bang on those crosses, it's just a guide. Here are some examples where this rule has helped me out, but I've not got the focus of the photo bang on target.
Don't be lazy!!
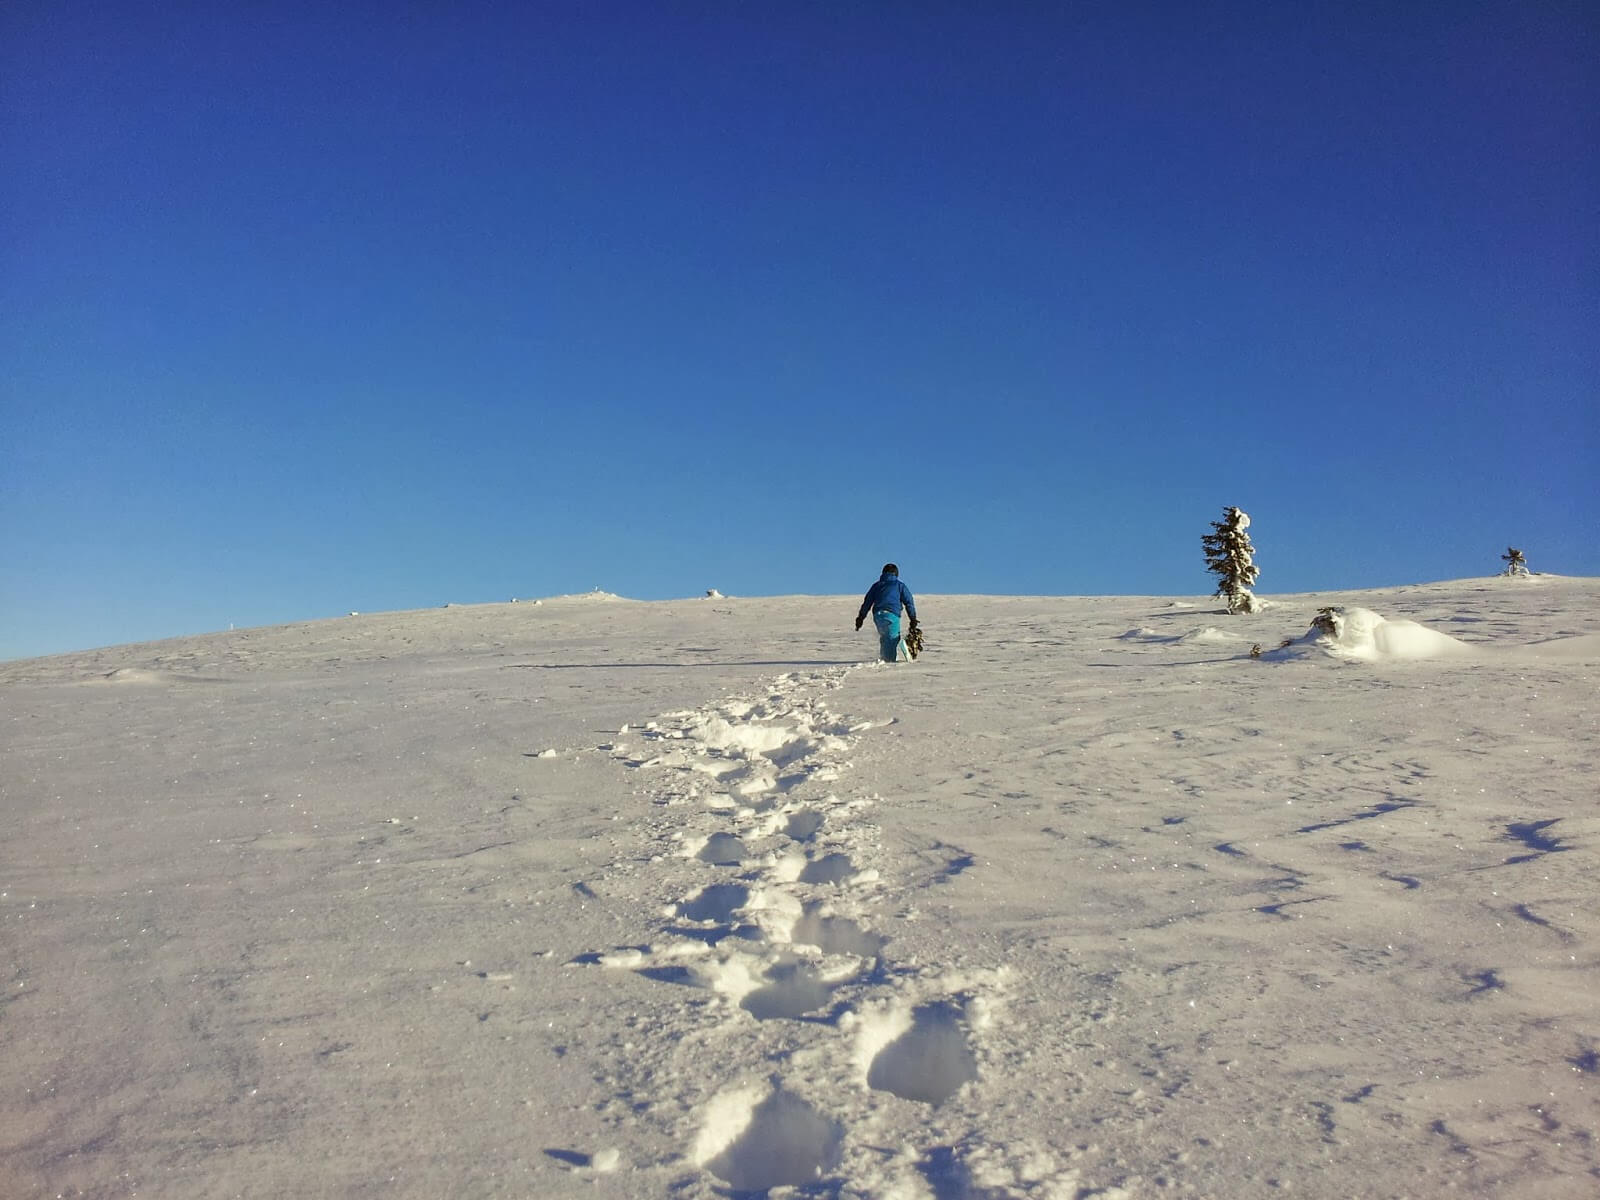
Sometimes the best shot is taken from the ground or at an angle your body hasn't thought about moving into. Don't become a lazy photographer. Also, this is fun. Truly. If you love rolling in the snow especially...
 My adventures photographing the Sydney Opera House was one of the most memorable of all my sight-seeing during my travels. Don't be afraid to suffer (i.e. grovel on the floor) for your art.
Master shutter speed OR aperture...
There is much pressure put on amateur photographers to "get out of auto" and the easiest way I have done this is by taking baby steps. Rather than learn how to adjust aperture and shutter speed and ISO, take it one step at a time. Once you feel you've conquered one, move on to the next. (This is, of course, assuming that you have Shutter and Aperture and Auto ISO settings!)
This photo was taken with my aperture as high as possible to keep depth of field shallow and I used shutter speed to let the right amount of light in.
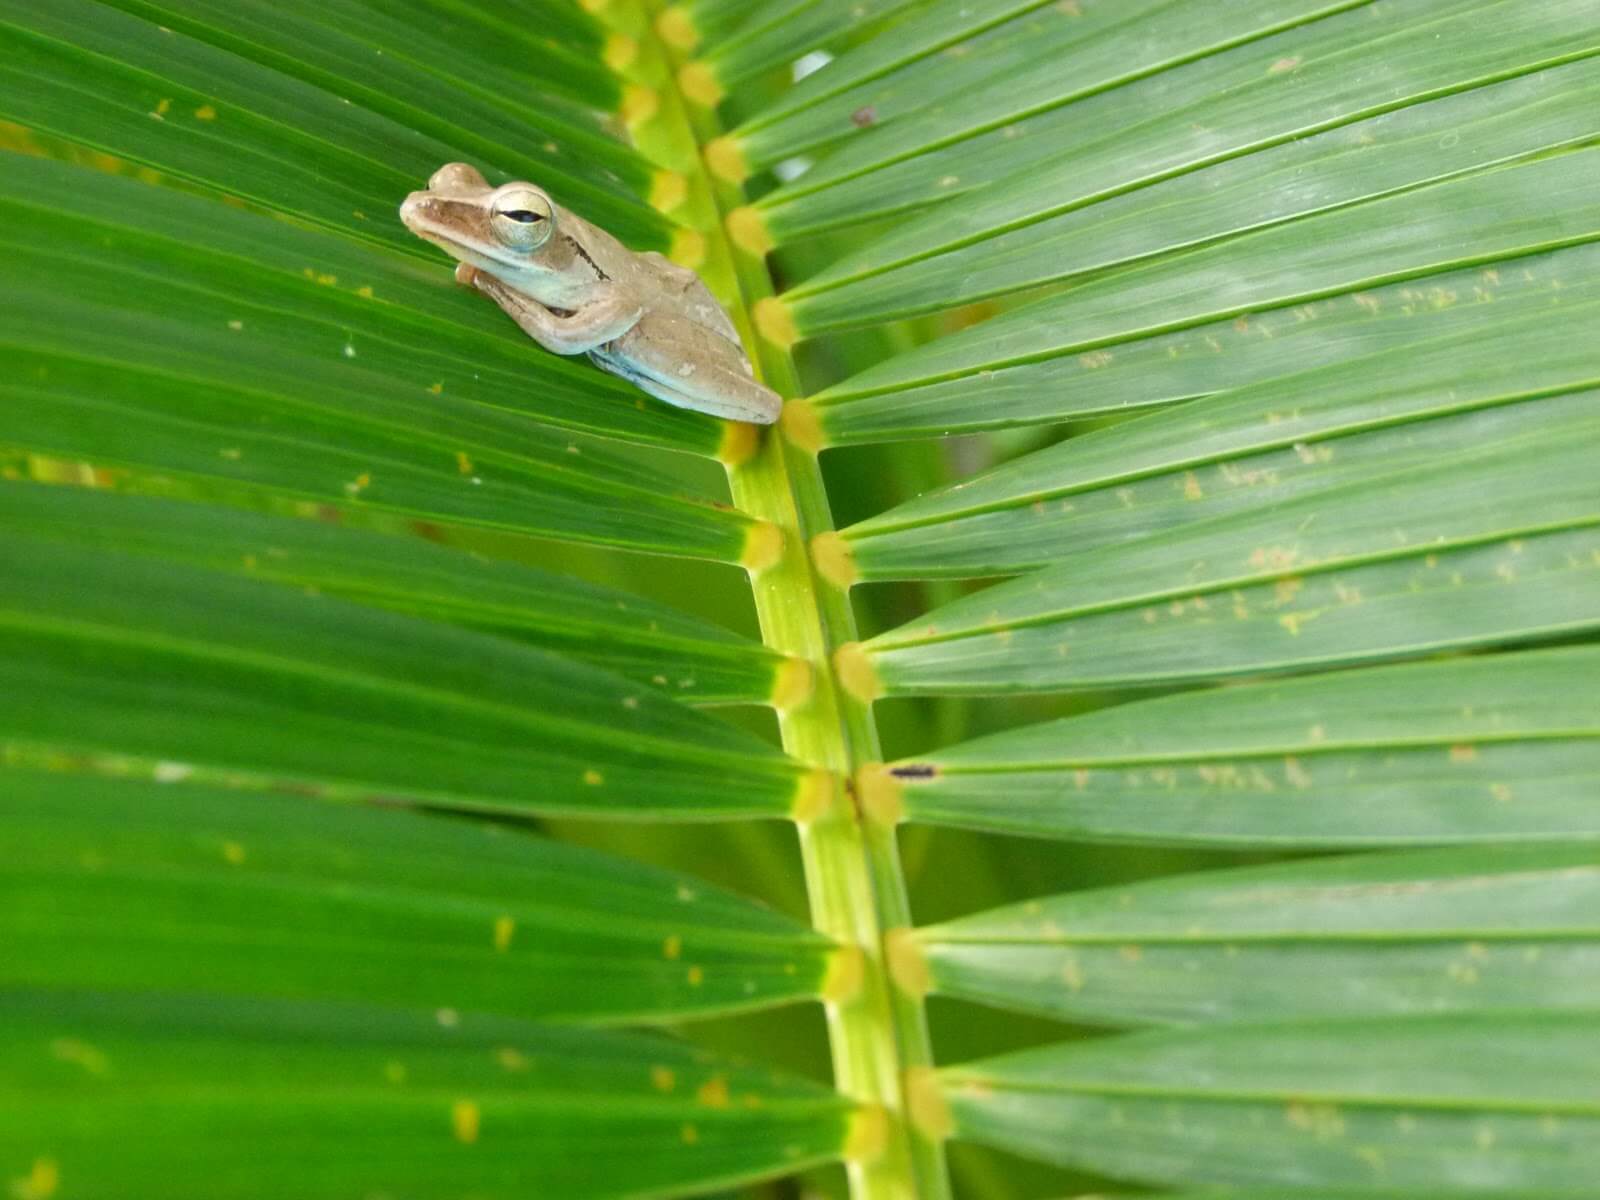 You may call this cheating your way out of auto. I call it trying to walk before I run.
Or use auto to best of your ability.
There's nothing wrong with using auto. There's a strong argument for saying that you shouldn't in order to get photos of better quality and also to be able to manipulate light for your own benefit, but if you simply want to take good photos of your travels, I find it ridiculous that someone will hold using auto against you.
I would say I currently shoot 70% of the time in manual but as soon as the sun goes down or the light is very changeable, I'm the first to switch into auto.
Keep your ISO as low as possible.
Noise is nasty. Full stop. Always have your ISO as low as you can to avoid this. (Unfortunately shooting on auto may risk more noise than you'd like.)
Crop
The impact of a lot of photos is lost because too much is shown. When I edit my fiction or blog posts I do my best to chop the bits that aren't needed because they get in the way and detract from what people should really see. Photos are the same so get rid of wasted space and as much as possible, do this before you take the photo rather than after in order to not reduce quality of image because you've cropped it so much.
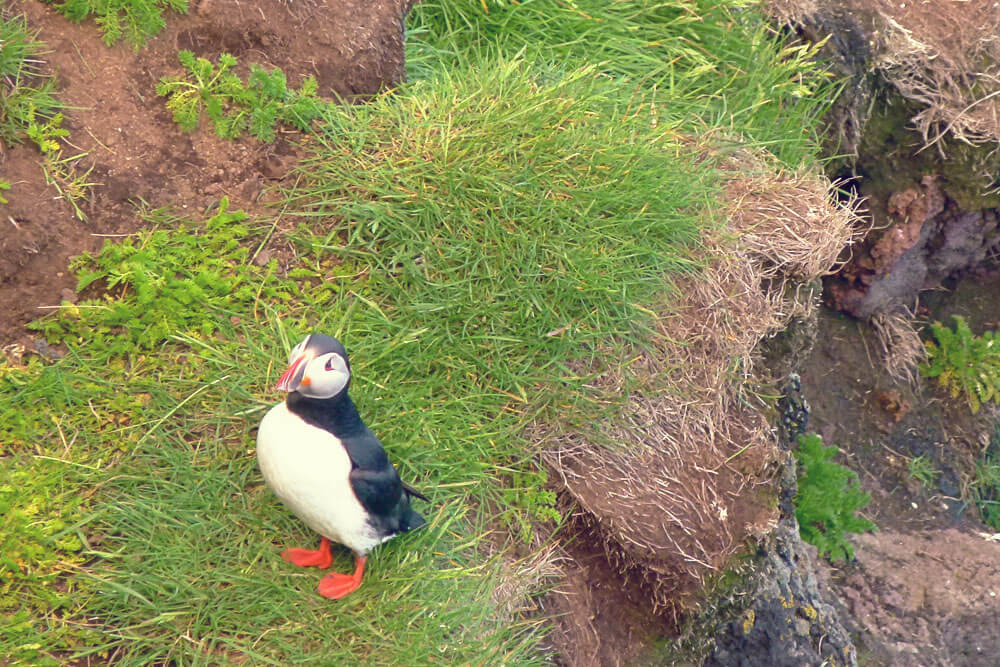
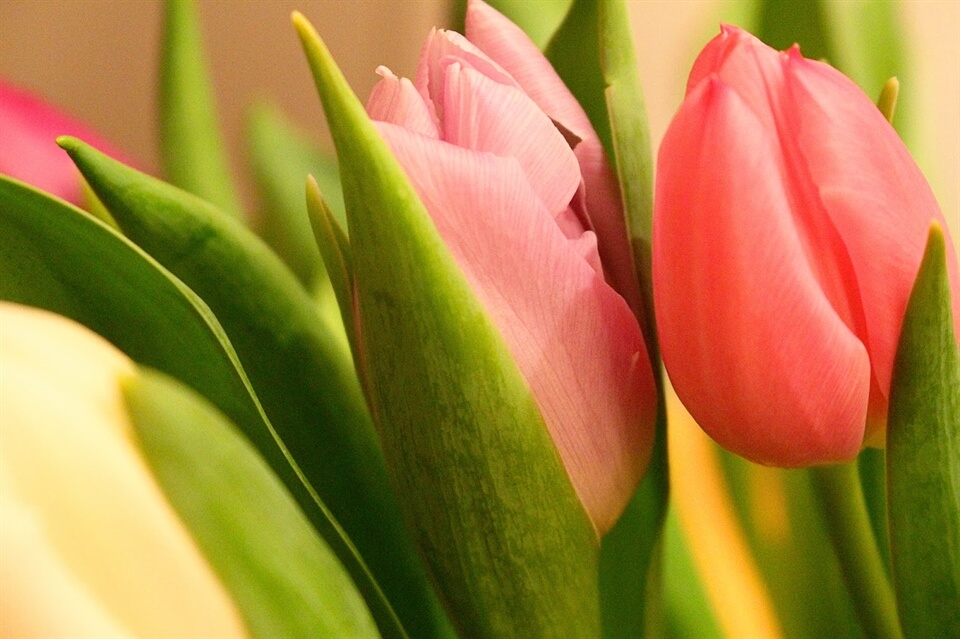
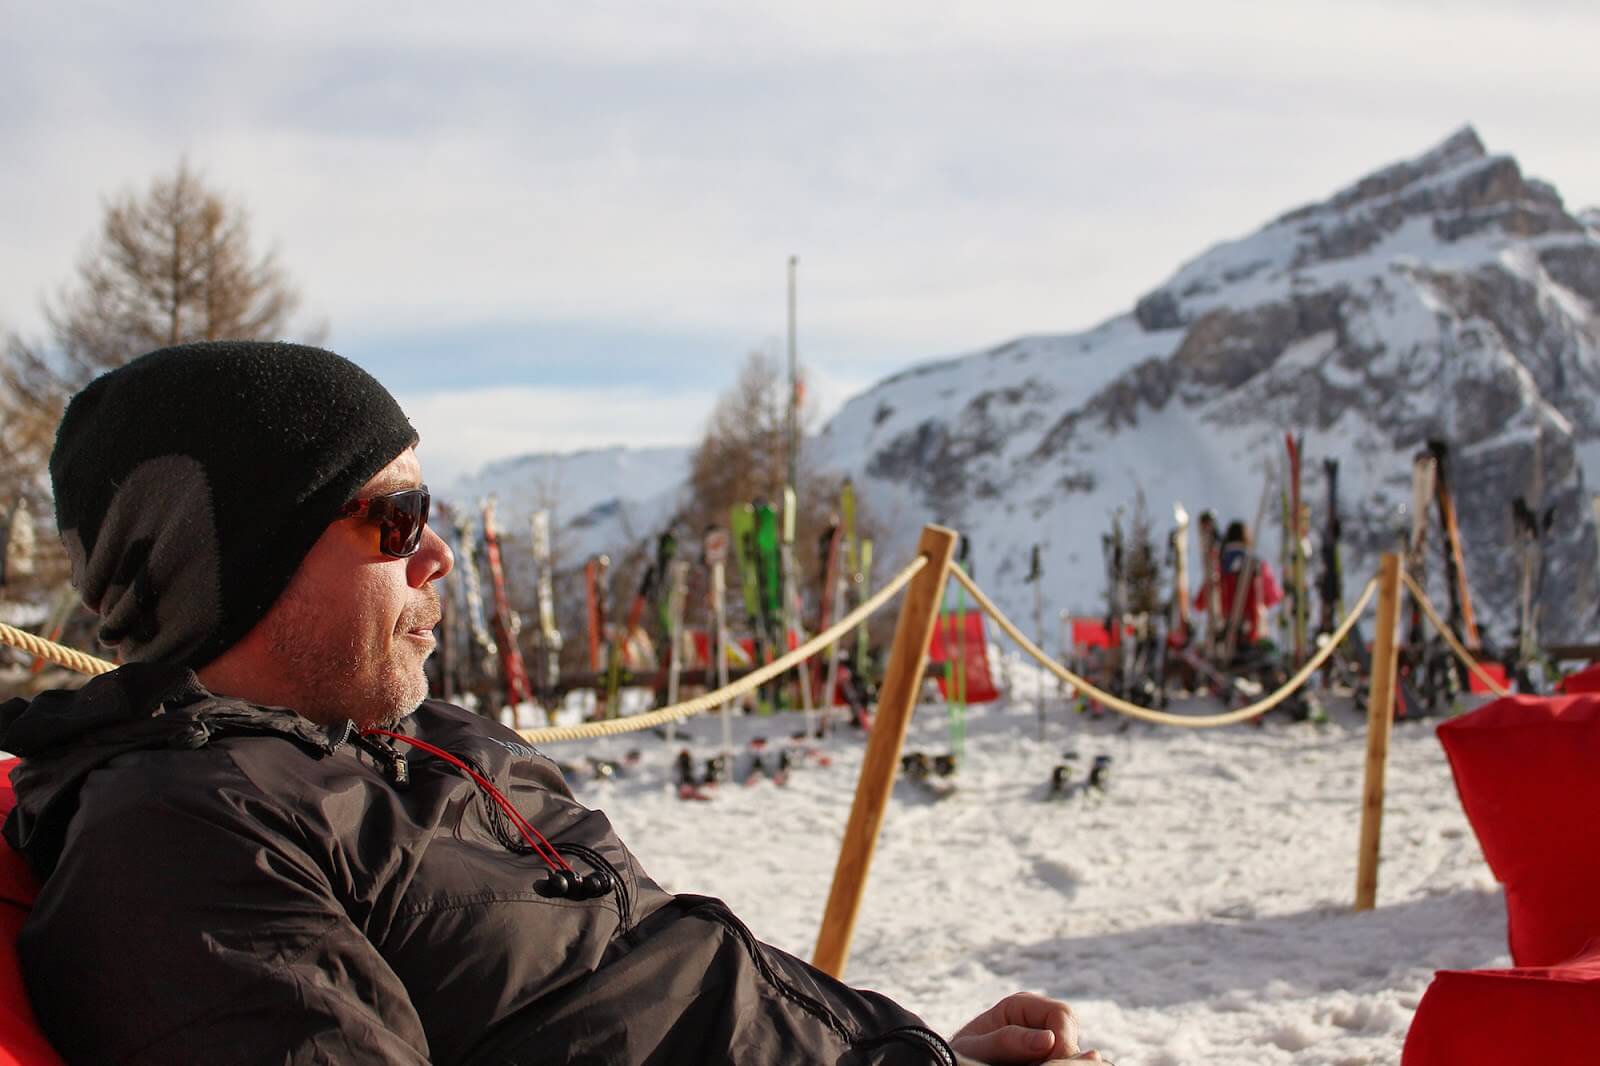 I think this is especially true when wanting to shoot close-up photos. Don't be afraid to get really close.
Delete bad photos... immediately.
This will save hours of editing, minutes of transferring bad photos from your memory disk and reduce the number of occasions you see the "Card Full" message and you have to delete photos in batch, another activity that takes me far too long and always happens when I least want it to. If you know at first sight that a photo sucks, get rid of it.
Have fun!!!!
Because, well, because . 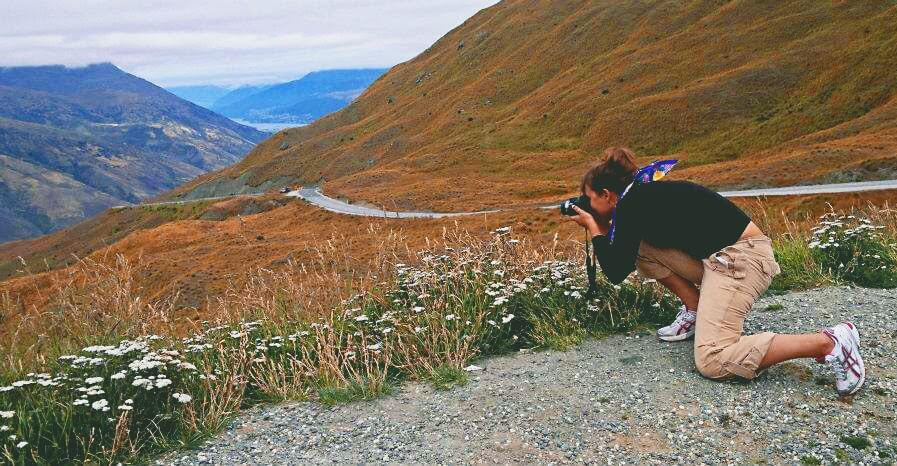 * ALL RULES WERE MADE TO BE BROKEN! Apart from the having fun part. That is always essential.
All photos by Frankie except Rule of Thirds and final photo, taken by my sweet friend Betty.
Frances M. Thompson
Find Frankie on Facebook, Twitter, Instagram, Pinterest, and Google+.
 Amsterdam Travel: The Best Photography Spots in Amsterdam
 Travel Advice: How to Choose Great Self-Catering Accommodation
 In photos: World Press Photo in Nieuwe Kerk, Amsterdam
 In photos: Flowers from Thailand
 Join in the Travelettes Instagram Challenge
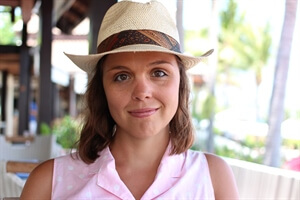 About the Blog & Frankie
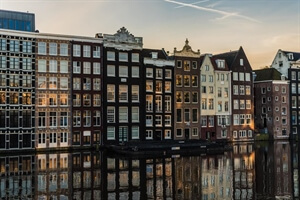 Welcome to My Amsterdam Travel Blog!
 Welcome to My Luxury Family Travel Blog!
 Welcome to My Writing Blog!
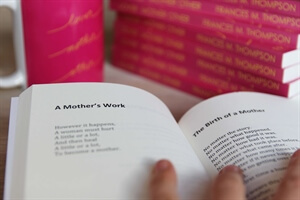 Lover Mother Other: Poems - Out Now!
 I Write Stories That Move You
 Order WriteNOW Cards - Affirmation Cards for Writers
 Work With Me